

It is now February 2019 and a good time to reflect what our farm has been up to since my long last post. I actually hate to admit it, I have become one of those people that have become addicted to Instagram.

I love posting on it every day what we are doing here at Windmill Farm. And I love to watch what everyone else is doing to. It only used to be a few people associated with my likes, farming, knitting, flowers, florists. It has now expanded. I read on a blog the other day that you can view how many minutes or HOURS a person is viewing on Instagram. I would bet very soon, there will be groups to meet to stop the addiction, Instagram Annoymous.


So that is my excuse for less blog posts, more IS posts.
Don't think because we don't write it here regularly now, it isn't happening.


Well, to recap what we have been doing. The last post was about the fun, fun clock making class out of re-cycled pallets. We then had our barn wood pumpkin painting class which was equally fun. Frank cut the wood, glued and stapled it together; then he cut out the shapes of the pumpkins, 2 different sizes!!! I had an idea about having separate pieces for the leaves, so he cut out 2 leaves per pumpkins, different sizes. He was amazing and the people loved it.


In October our farm hosted a pre-school activity day. We had pumpkins to pick, craft projects for the kids, the instructors brought food; and I gave Gator/hay rides.


November our farm hosted a parent/child holiday Pom Pom making class. It was so much fun, we made so many different sizes of Pom Poms, arranged them to make holiday trees, made headbands and wreaths.


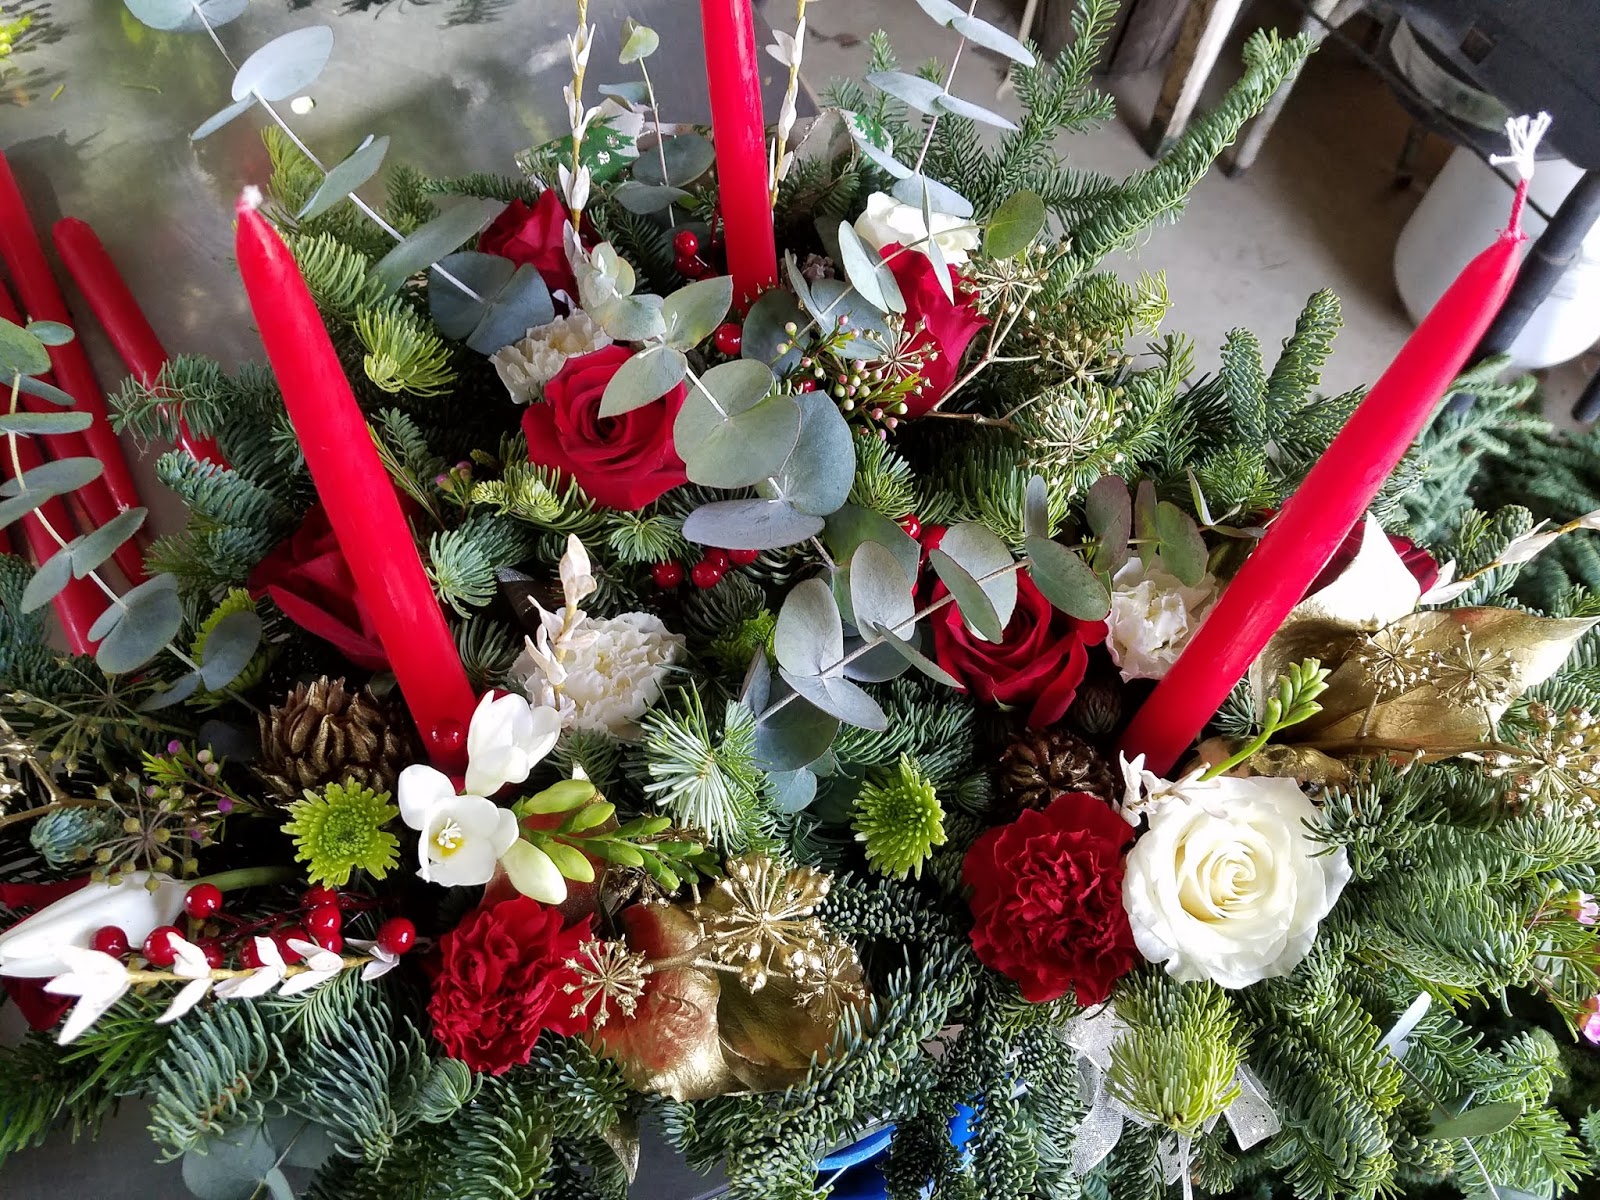
December celebrated our 7th year of hosting Holiday Farm Fresh Wreath Making Classes. Frank and I spend days foraging fresh greens, olive branches, eucalyptus, berries, pine cones along with our traditional fresh noble fir greens. I have so many photos of our wreath making class, but my post is way too long now.

And lastly we had a fabulous flower season where our farm made beautiful, english garden bouquets, arrangements, corsages and even some funeral sprays and graveside flowers.


I promise to try and keep you up to date on what is happening here throughout 2019.


